The wrong creator gear order is expensive. You buy the camera, then realize the room is dark. You buy the mic, then leave it too far away. You buy a capture card, then discover OBS was the real problem.
The better move is to upgrade by friction. Fix the thing that currently makes the content worse, slower, or less repeatable.
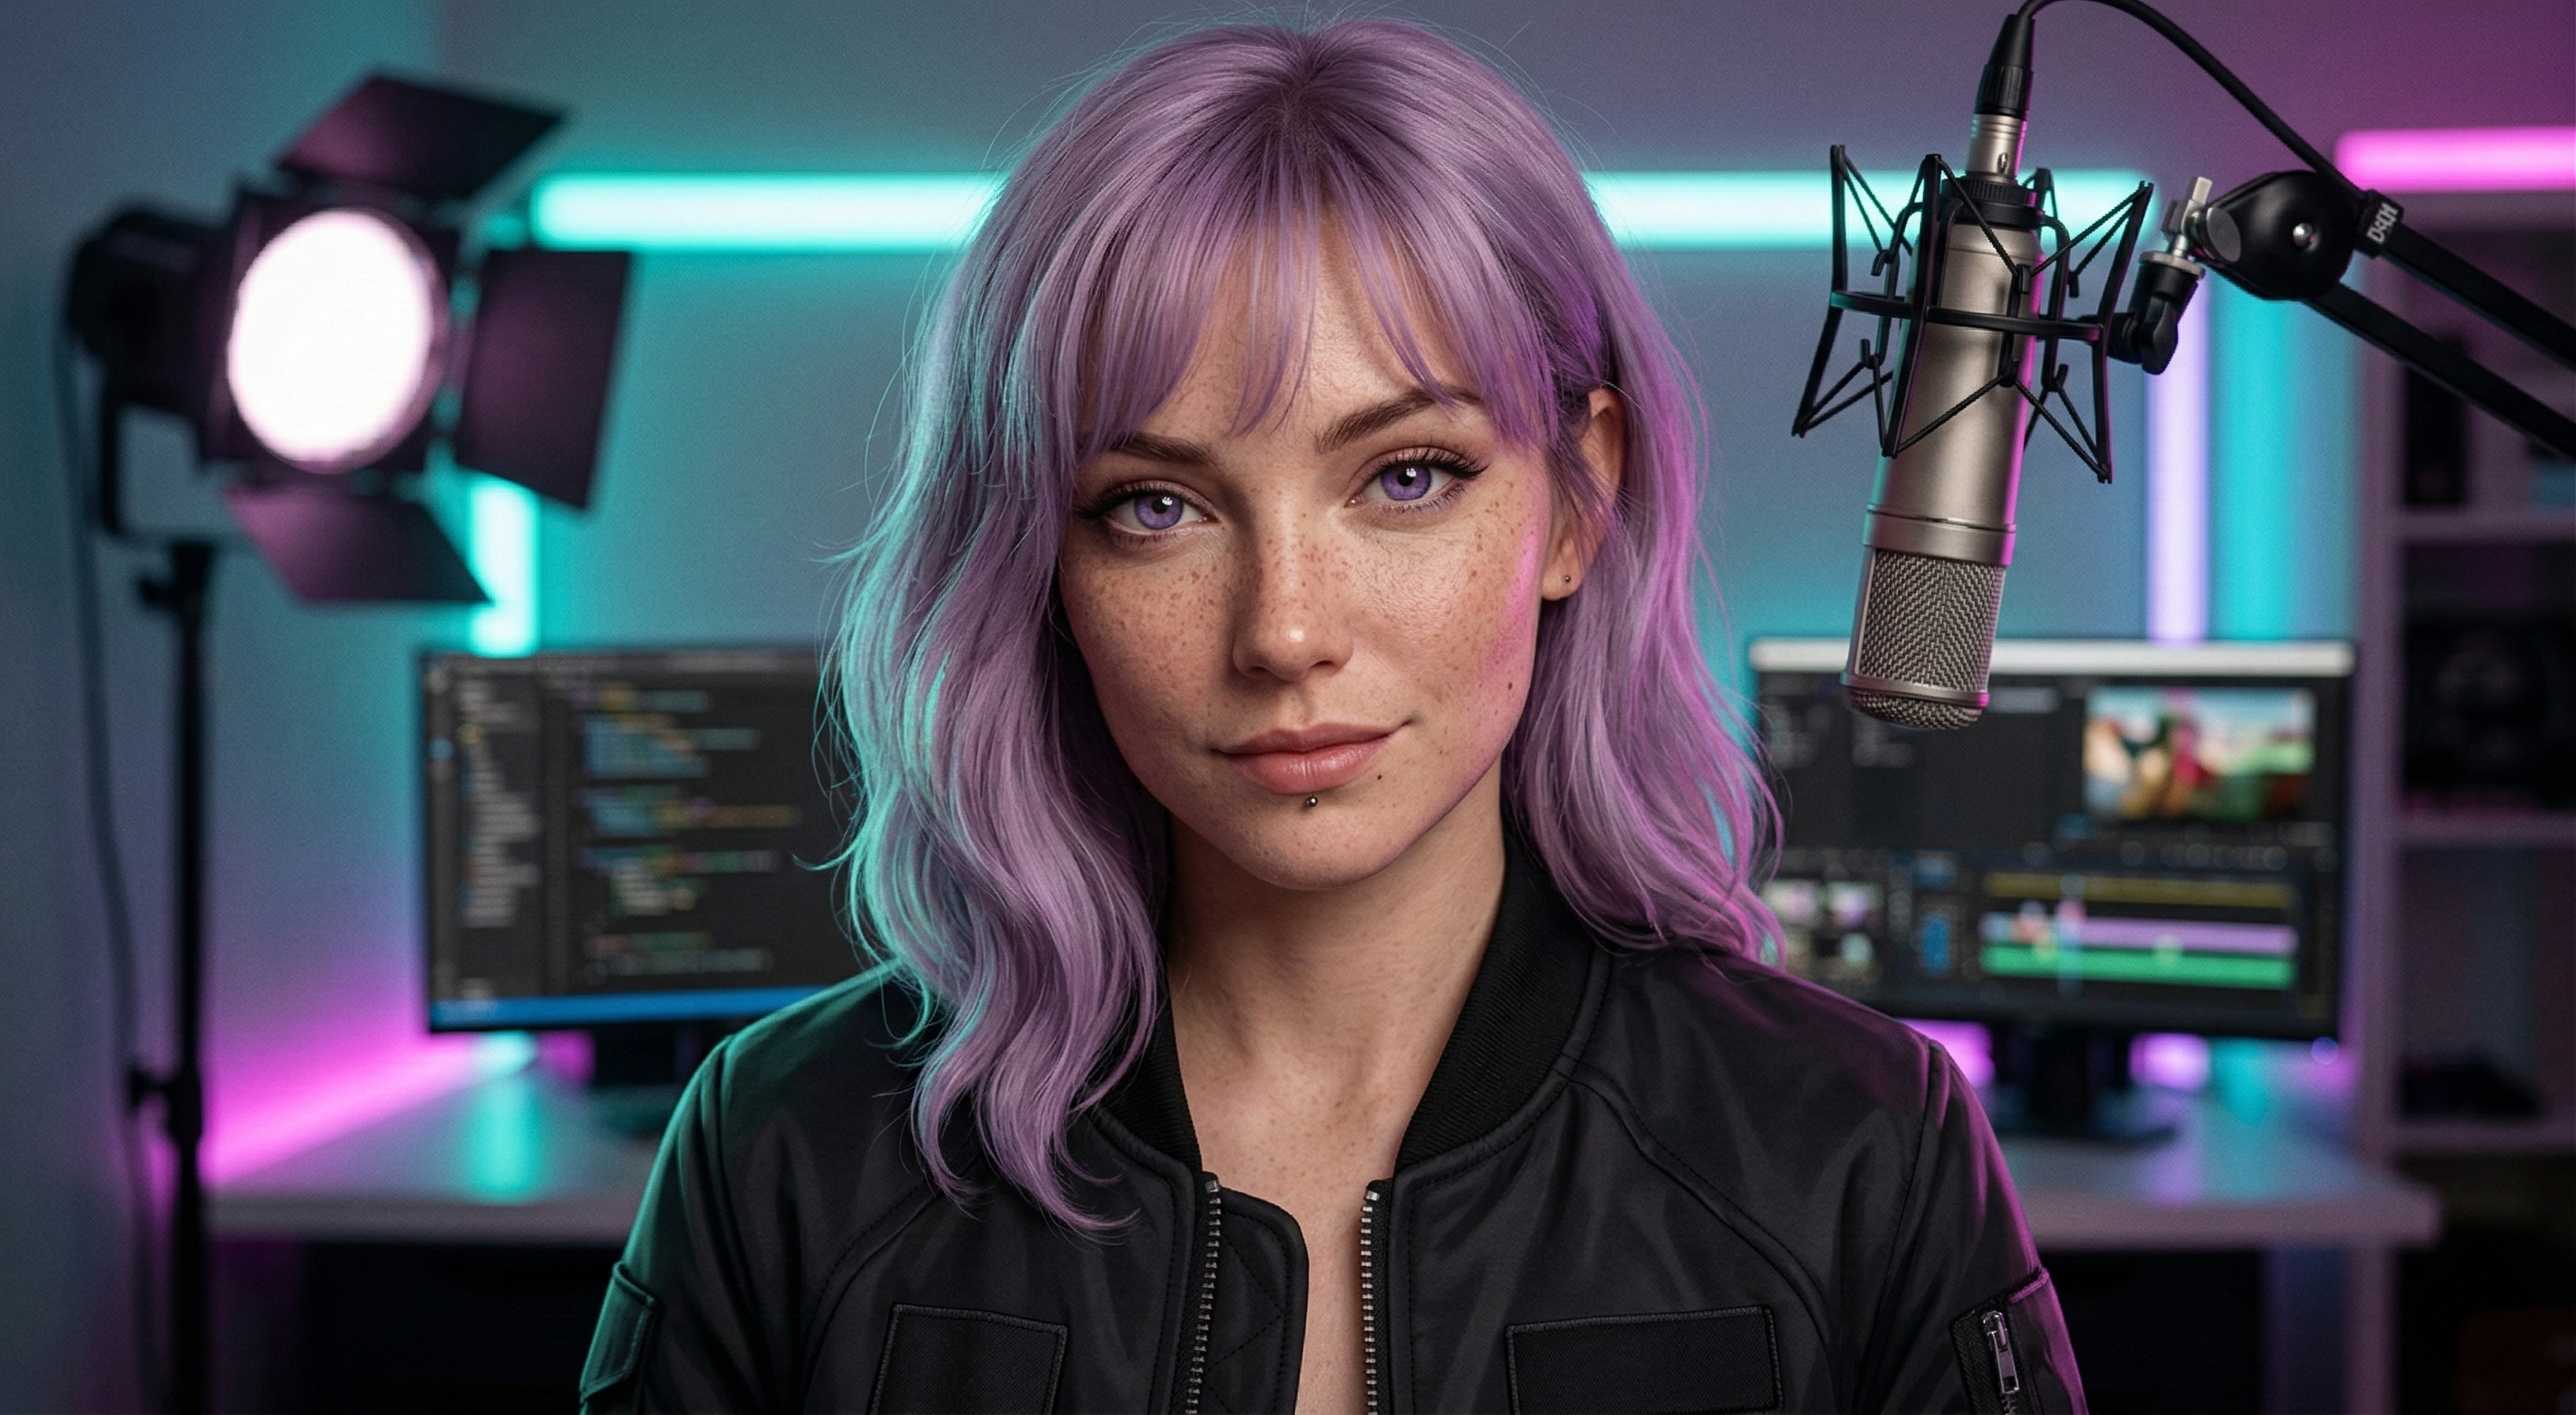
Step 1: Fix audio people can actually understand#
If your content includes speech, audio usually comes first. A clear voice makes tutorials, reviews, courses, streams, and client videos easier to trust.
Start with placement before price. Put the mic close enough, lower the gain, and reduce the reflections around the desk. A modest mic used well beats a premium mic parked across the room.
Good next reads:
Step 2: Fix light before the camera#
Most bad creator video is under-lit, mixed-temperature, or backlit. A better camera cannot fully rescue a bad room.
Put one soft key light slightly above eye level and off to the side. Then lock the setup so it looks the same every time you record.
Good next reads:
Step 3: Stabilize the frame#
A stable shot makes beginner gear look more deliberate. A shaky shot makes good gear look careless.
Use the mount that matches the format: phone tripod for mobile clips, desk clamp for fixed desk work, full tripod for talking-head video, overhead mount for demos, gimbal only for movement-heavy formats.
Good next reads:
- Best Tripods and Desk Mounts for Creators
- Should I Buy a Camera or Use My Phone for Content Creation?
Step 4: Upgrade the camera only when the camera is the blocker#
Now judge the camera honestly. Is focus hunting? Does it overheat? Are recordings capped? Is the lens too limiting? Do you need cleaner desk video, or just better lighting?
If you record at a desk, a webcam can be enough. If you record YouTube reviews, talking-head videos, or product demos, a compact camera may be worth it. If you need lens control and production polish, then a mirrorless setup starts making sense.
Do not skip the phone too early. A phone on a stable mount with good light and clear audio can carry a lot of creator work.
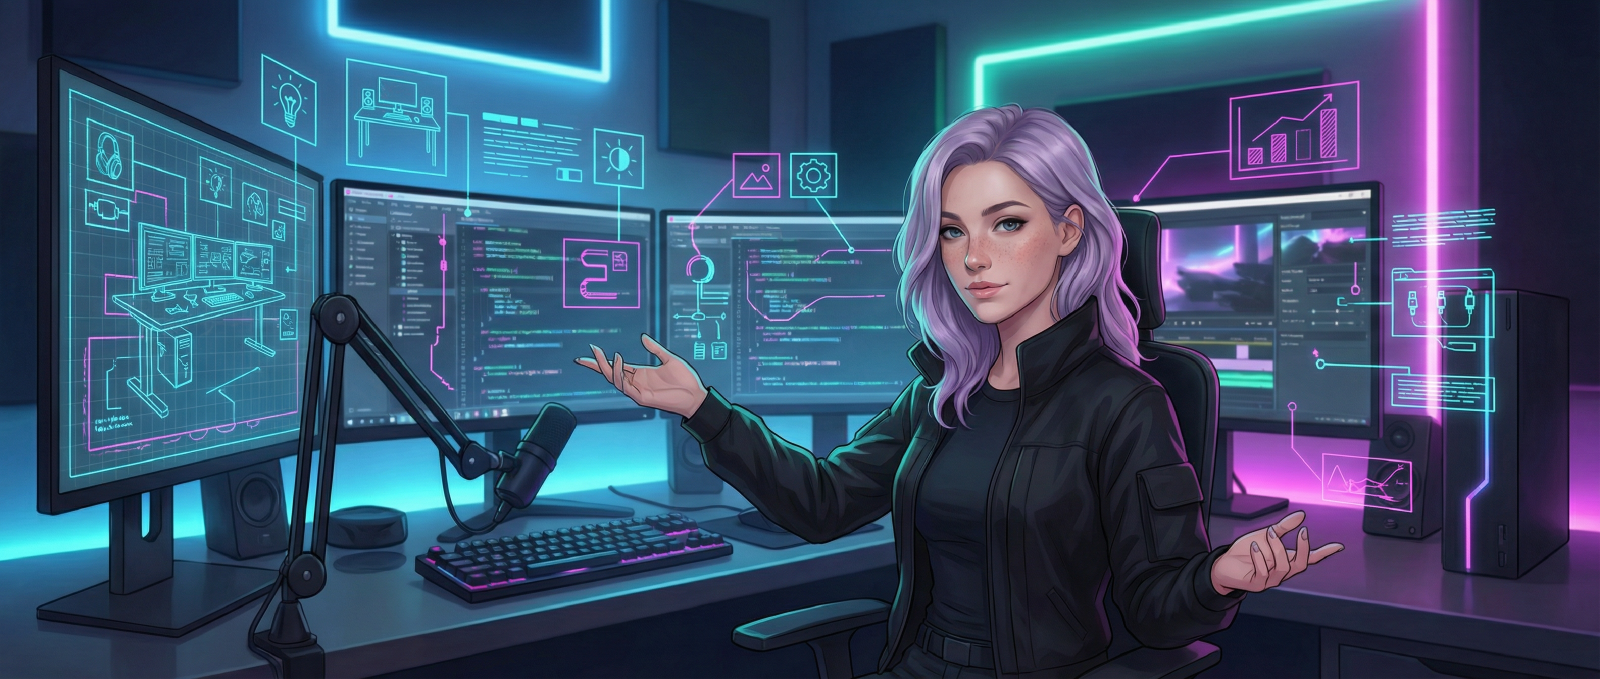
Step 5: Protect files and speed up editing#
Once you publish regularly, storage becomes part of the creative system. If files are scattered, full, or only stored in one place, you will eventually lose time or lose work.
Use a simple active-project structure, keep a portable SSD for current work, and archive finished projects somewhere separate. Editing software matters here too: saved templates, export presets, and repeatable project folders are gear in practice, even if they are not hardware.
Step 6: Make the setup repeatable#
The best creator setup is the one you can start quickly. Keep the camera mounted, the mic routed, the light position saved, the SSD nearby, and the editor template ready.
This is where docks, cable management, and control surfaces start to matter. They reduce setup time. They are not status objects.
Step 7: Add specialized gear only when the format demands it#
Specialized gear should solve a known pain:
- Buy a capture card when an external video source needs to enter the computer.
- Buy a teleprompter when scripted videos create too many retakes.
- Buy a gimbal when movement is central to the content.
- Buy a second monitor when editing or streaming layout is cramped.
- Buy acoustic treatment when mic placement alone is not enough.
If the format is not stable yet, wait.
The no-regret upgrade order#
Use this order when you are stuck:
- Audio clarity.
- Lighting.
- Stable mount.
- Camera or webcam.
- Storage and backup.
- Editing templates.
- Desk repeatability.
- Specialized production gear.
One upgrade. One real recording. Then judge the next bottleneck.
For the full buying guide, start with Best Gear for Creators.
Related Ask Mira
- Should I Buy a Camera or Use My Phone for Content Creation?
Your phone is probably enough until focus, recording time, storage, or repeatable framing starts costing you takes.
- Do I Need a Capture Card for Streaming?
You need a capture card only when an external video source has to enter the computer cleanly.
- Is a Teleprompter Worth It for YouTube?
A teleprompter is worth it when scripts reduce retakes. It is not worth it if your best videos are conversational.
- What Mic Works Best in a Noisy Apartment?
Need clear calls while roommates, HVAC, or street noise rage on? Mira picks a mic stack that blocks the chaos.
- What Light Works Best for Zoom Without Blinding Me?
Look good on camera without frying your eyes. Mira picks a soft, compact Zoom lighting setup.
Related Comparisons
- Best Tripods and Desk Mounts for Creators (2026)
A practical guide to choosing tripods, desk mounts, clamps, arms, and gimbals for creator setups that need stable framing without desk chaos.
- Best Webcams for Remote Work and YouTube (2026)
A practical webcam shortlist for meetings and creator workflows, with tradeoffs that matter more than headline resolution.
- Best Microphones for Noisy Home Offices (2026)
A practical microphone shortlist for noisy rooms, focused on voice clarity and repeatable setup for calls and content sessions.
- Best Key Lights for Zoom, Streams, and YouTube (2026)
A practical key-light shortlist for creators and remote workers who need better video without blinding desk setups.
Related Posts
- Best Gear for Creators: A Practical Kit for Video, Audio, Editing, and Focus
A workflow-first gear list for creators who need better video, cleaner audio, stable editing storage, and a desk setup that does not slow the work down.