This loadout solves one specific problem: getting a camera directly above your desk and keeping it there. Hands stay in frame, the surface stays clear, and nothing gets drilled into a wall or ceiling.
Mira’s Quick Picks#
- Best Tripods and Desk Mounts for Creators (2026)
- Best Gear for Creators: A Practical Kit
- Best Key Lights for Zoom, Streams, and YouTube (2026)
Pick the mount that matches your desk first. The camera decision is easier once you know what is holding it.
The Constraint That Decides It#
Almost every overhead setup fails on the same detail, and it is not the camera. It is whether your desk has a flat, accessible edge the clamp can close on.
A desk clamp needs an overhang with nothing underneath it — no drawer rail, no crossbar, no thick apron running along the inside edge. Plenty of desks look clampable from above and are not once you reach under. Check that before you buy anything, because it decides the entire shape of the rig.
If the edge works, the magic arm and the crossbar mount are the cleanest answer. If it does not, you are buying a tripod with a horizontal center column instead, and that is a different setup with a different footprint.
Why It Works#
The NEEWER UA057 is the piece most people start with. It is a 22-inch articulating arm on a desk C-clamp, built for lightweight loads — a webcam, a phone, a microphone, an action camera, or a video light. That covers the majority of desk filming, and the articulation means you can push it out over the surface and pull it back out of the way without unmounting anything.
The NK002 is the more committed version. It is a crossbar rig with two ball heads, made for genuine top-down shots over a work surface, which is what you want for product shots, craft work, or anything where the audience needs to see your hands doing something. Two ball heads also mean you can carry a light on the second mount instead of finding somewhere else to put it.
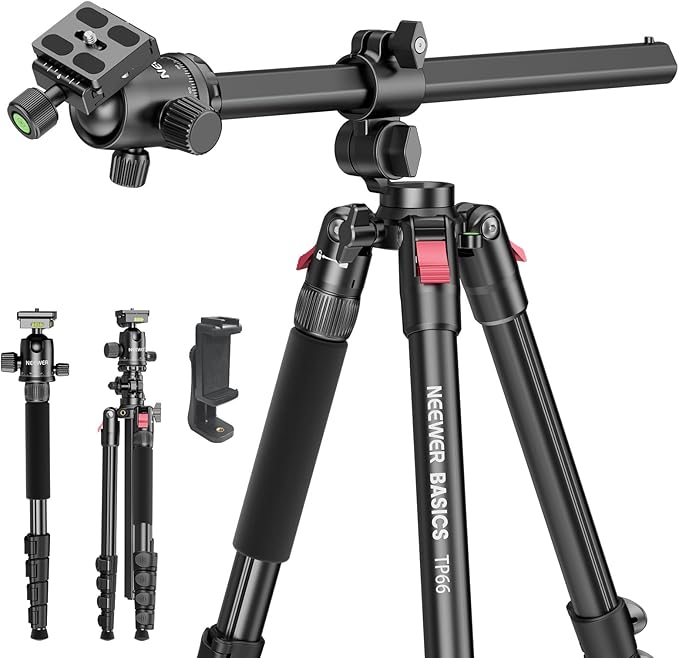
The TP66 exists for desks that cannot be clamped. It is a full-size aluminum tripod with a horizontal center column, so it reaches over the surface from the floor rather than gripping the edge. It converts to a monopod, which is useful if you also shoot away from the desk.
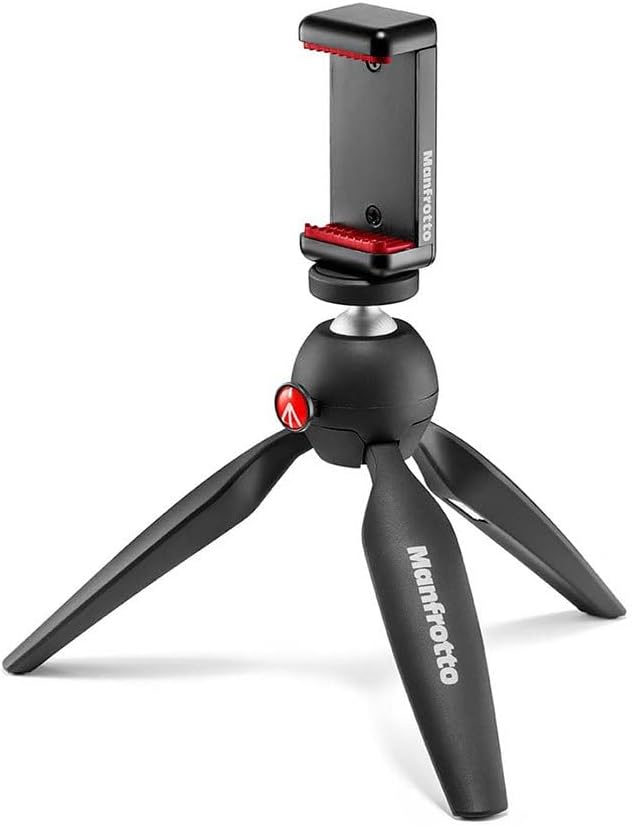
The Ulanzi MT-11 handles everything the other three cannot. The legs are flexible rather than fixed, so it holds angles a rigid clamp cannot, and the hidden phone holder, cold shoe, and 1/4-inch screw mount mean it doubles as a grab-and-go mount when you are shooting somewhere that is not your desk.
The Sony ZV-1F is the camera choice for people who want autofocus that holds without fiddling. If you already own a camera, keep it — the mounts are the point of this loadout, and the camera is the swappable part.
Not Ideal For#
Heavy camera bodies on the clamp arm. The UA057 is specified for lightweight setups, and an overhead mount is the worst possible place to discover you have exceeded what a mount is built to carry. If your body and lens are substantial, start from the K&F Concept fluid-head tripod, which is built for stable full-size support, and treat the clamp arm as a light and accessory mount instead.
Glass desks, thin floating shelves, and desks with a drawer rail along the front edge. All three defeat a C-clamp for different reasons.
Building It in Stages#
Start with the magic arm. It is the most flexible single purchase and it will tell you quickly whether overhead filming is something you actually do or something you thought you would do.
Add the crossbar rig when you find yourself wanting a true top-down angle rather than an over-the-shoulder one. Add the flexible tripod when you start shooting away from the desk. The full-size tripods are for when the desk itself refuses to cooperate, or when the camera gets heavier than the clamp arm should carry.
The light is the last piece, and it matters more than people expect. Mounting a camera overhead puts your own head between the room light and the surface you are filming, so a pocket light placed above the surface fills the shadow you just created.